Quarantine Creations
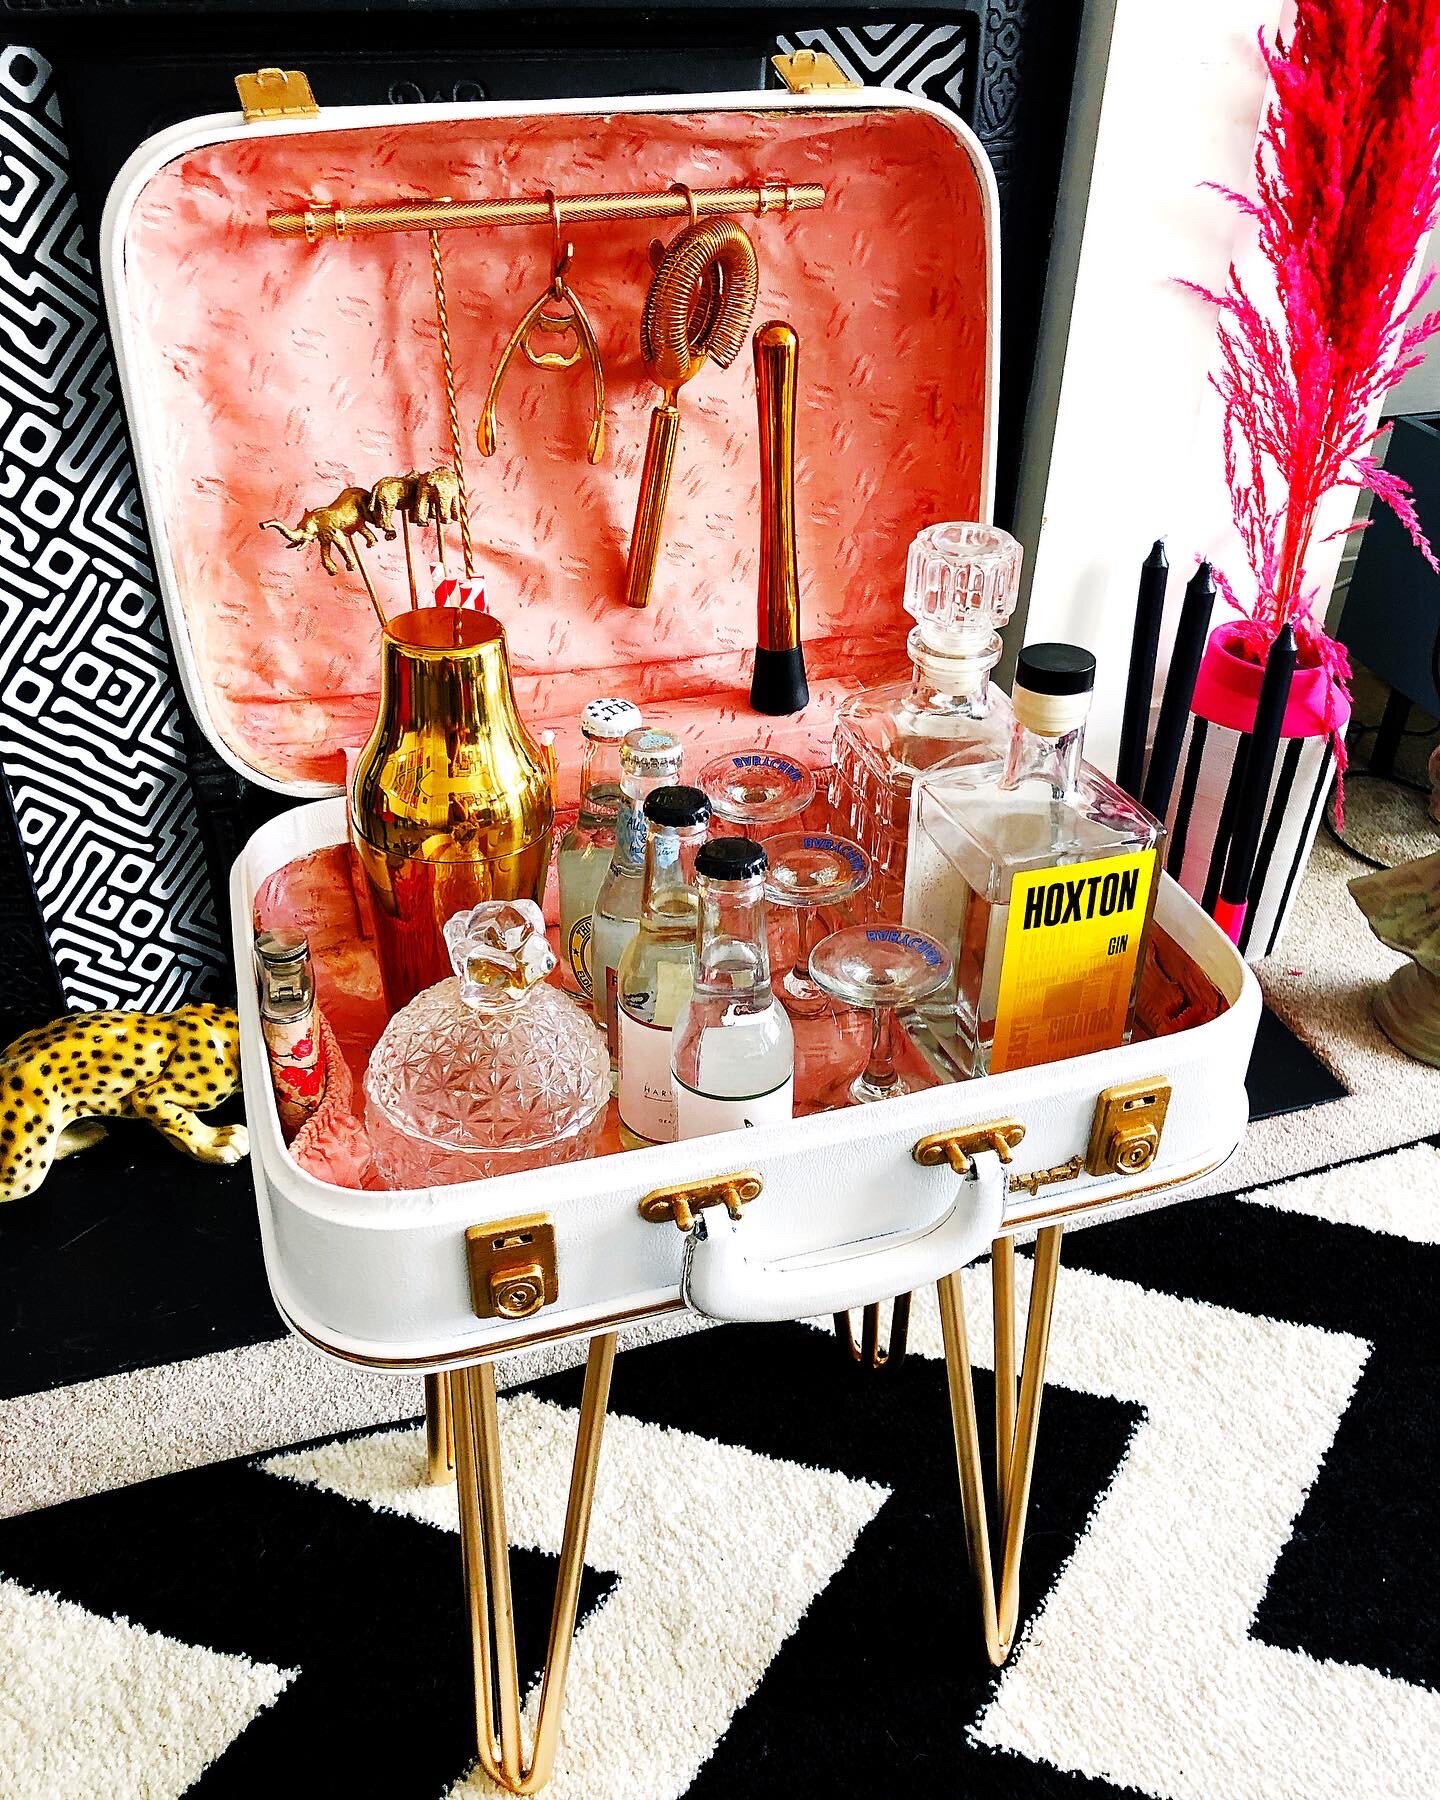
DIY UPCYCLED SUITCASE COCKTAIL BAR
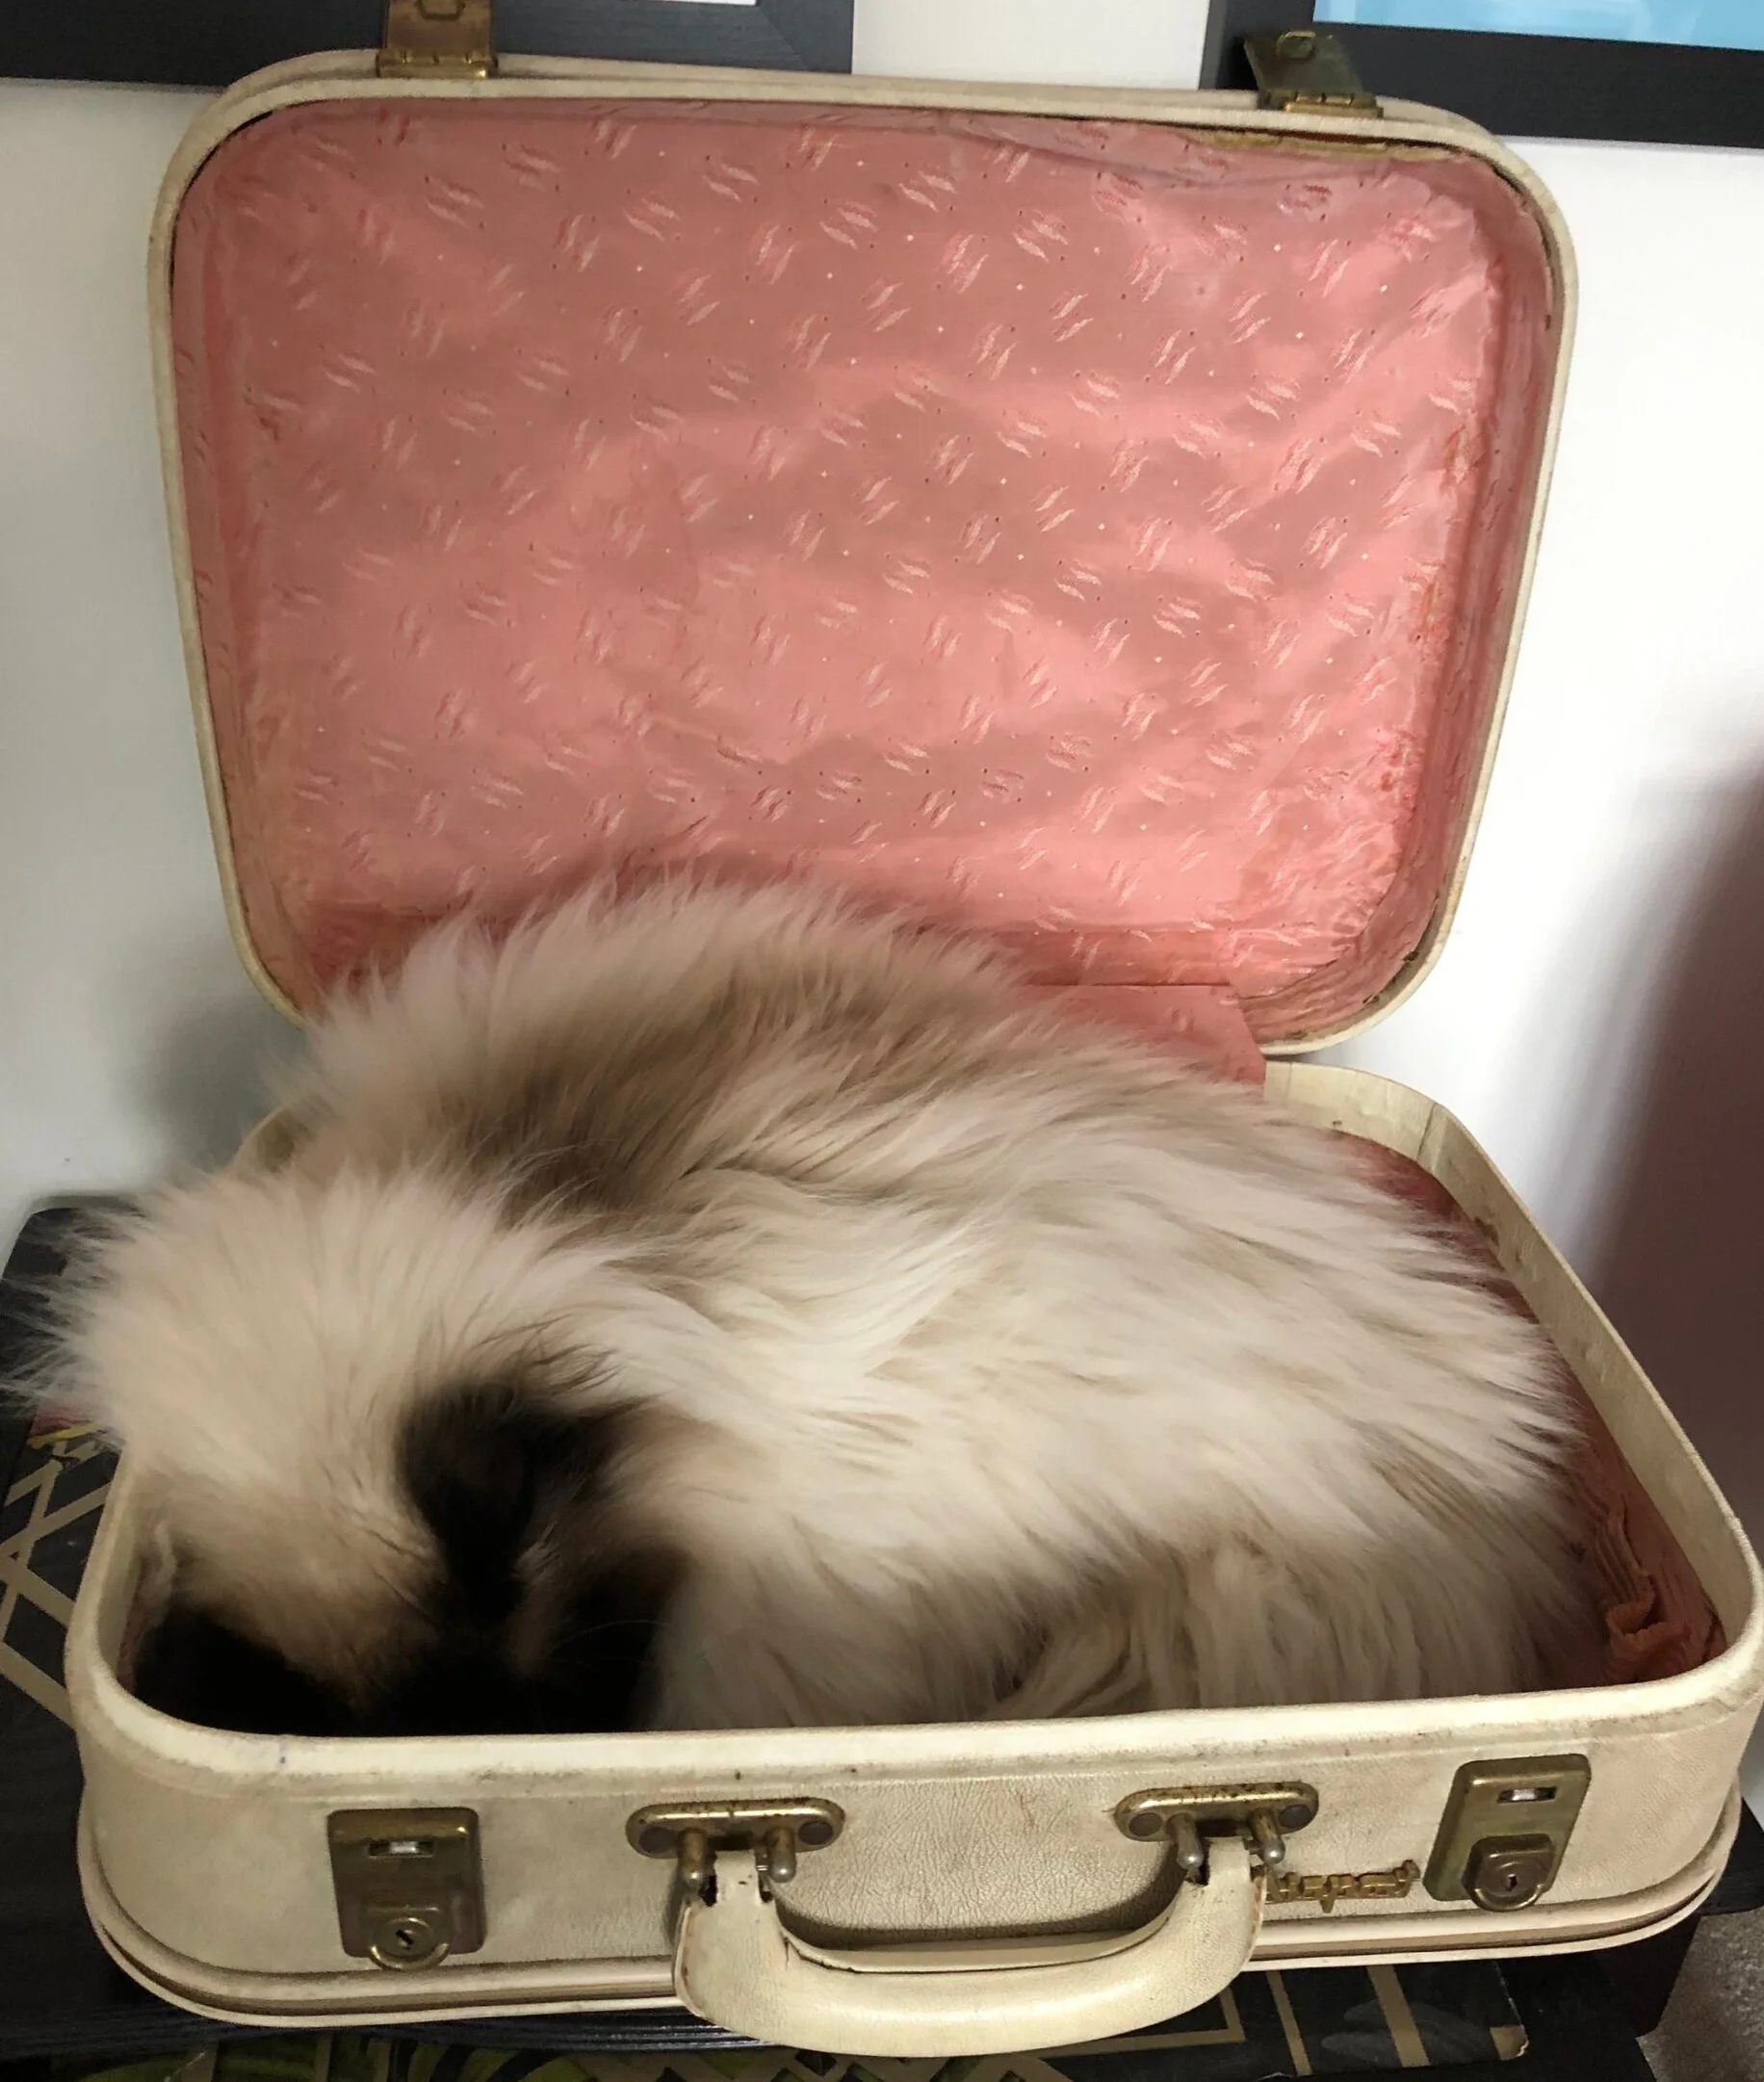
This has to be my most impressive lockdown creation, even if I do say so myself! This vintage suitcase was given to me by my dad, it belonged to my stepmoms mother, and he thought if I couldn’t do anything with it, I could just sell it on eBay.
It was sat gathering dust for a month or two because quite honestly it was so discoloured and a lil bit mingin’ that I didn’t think they’re would be any upcycle that would do it justice.
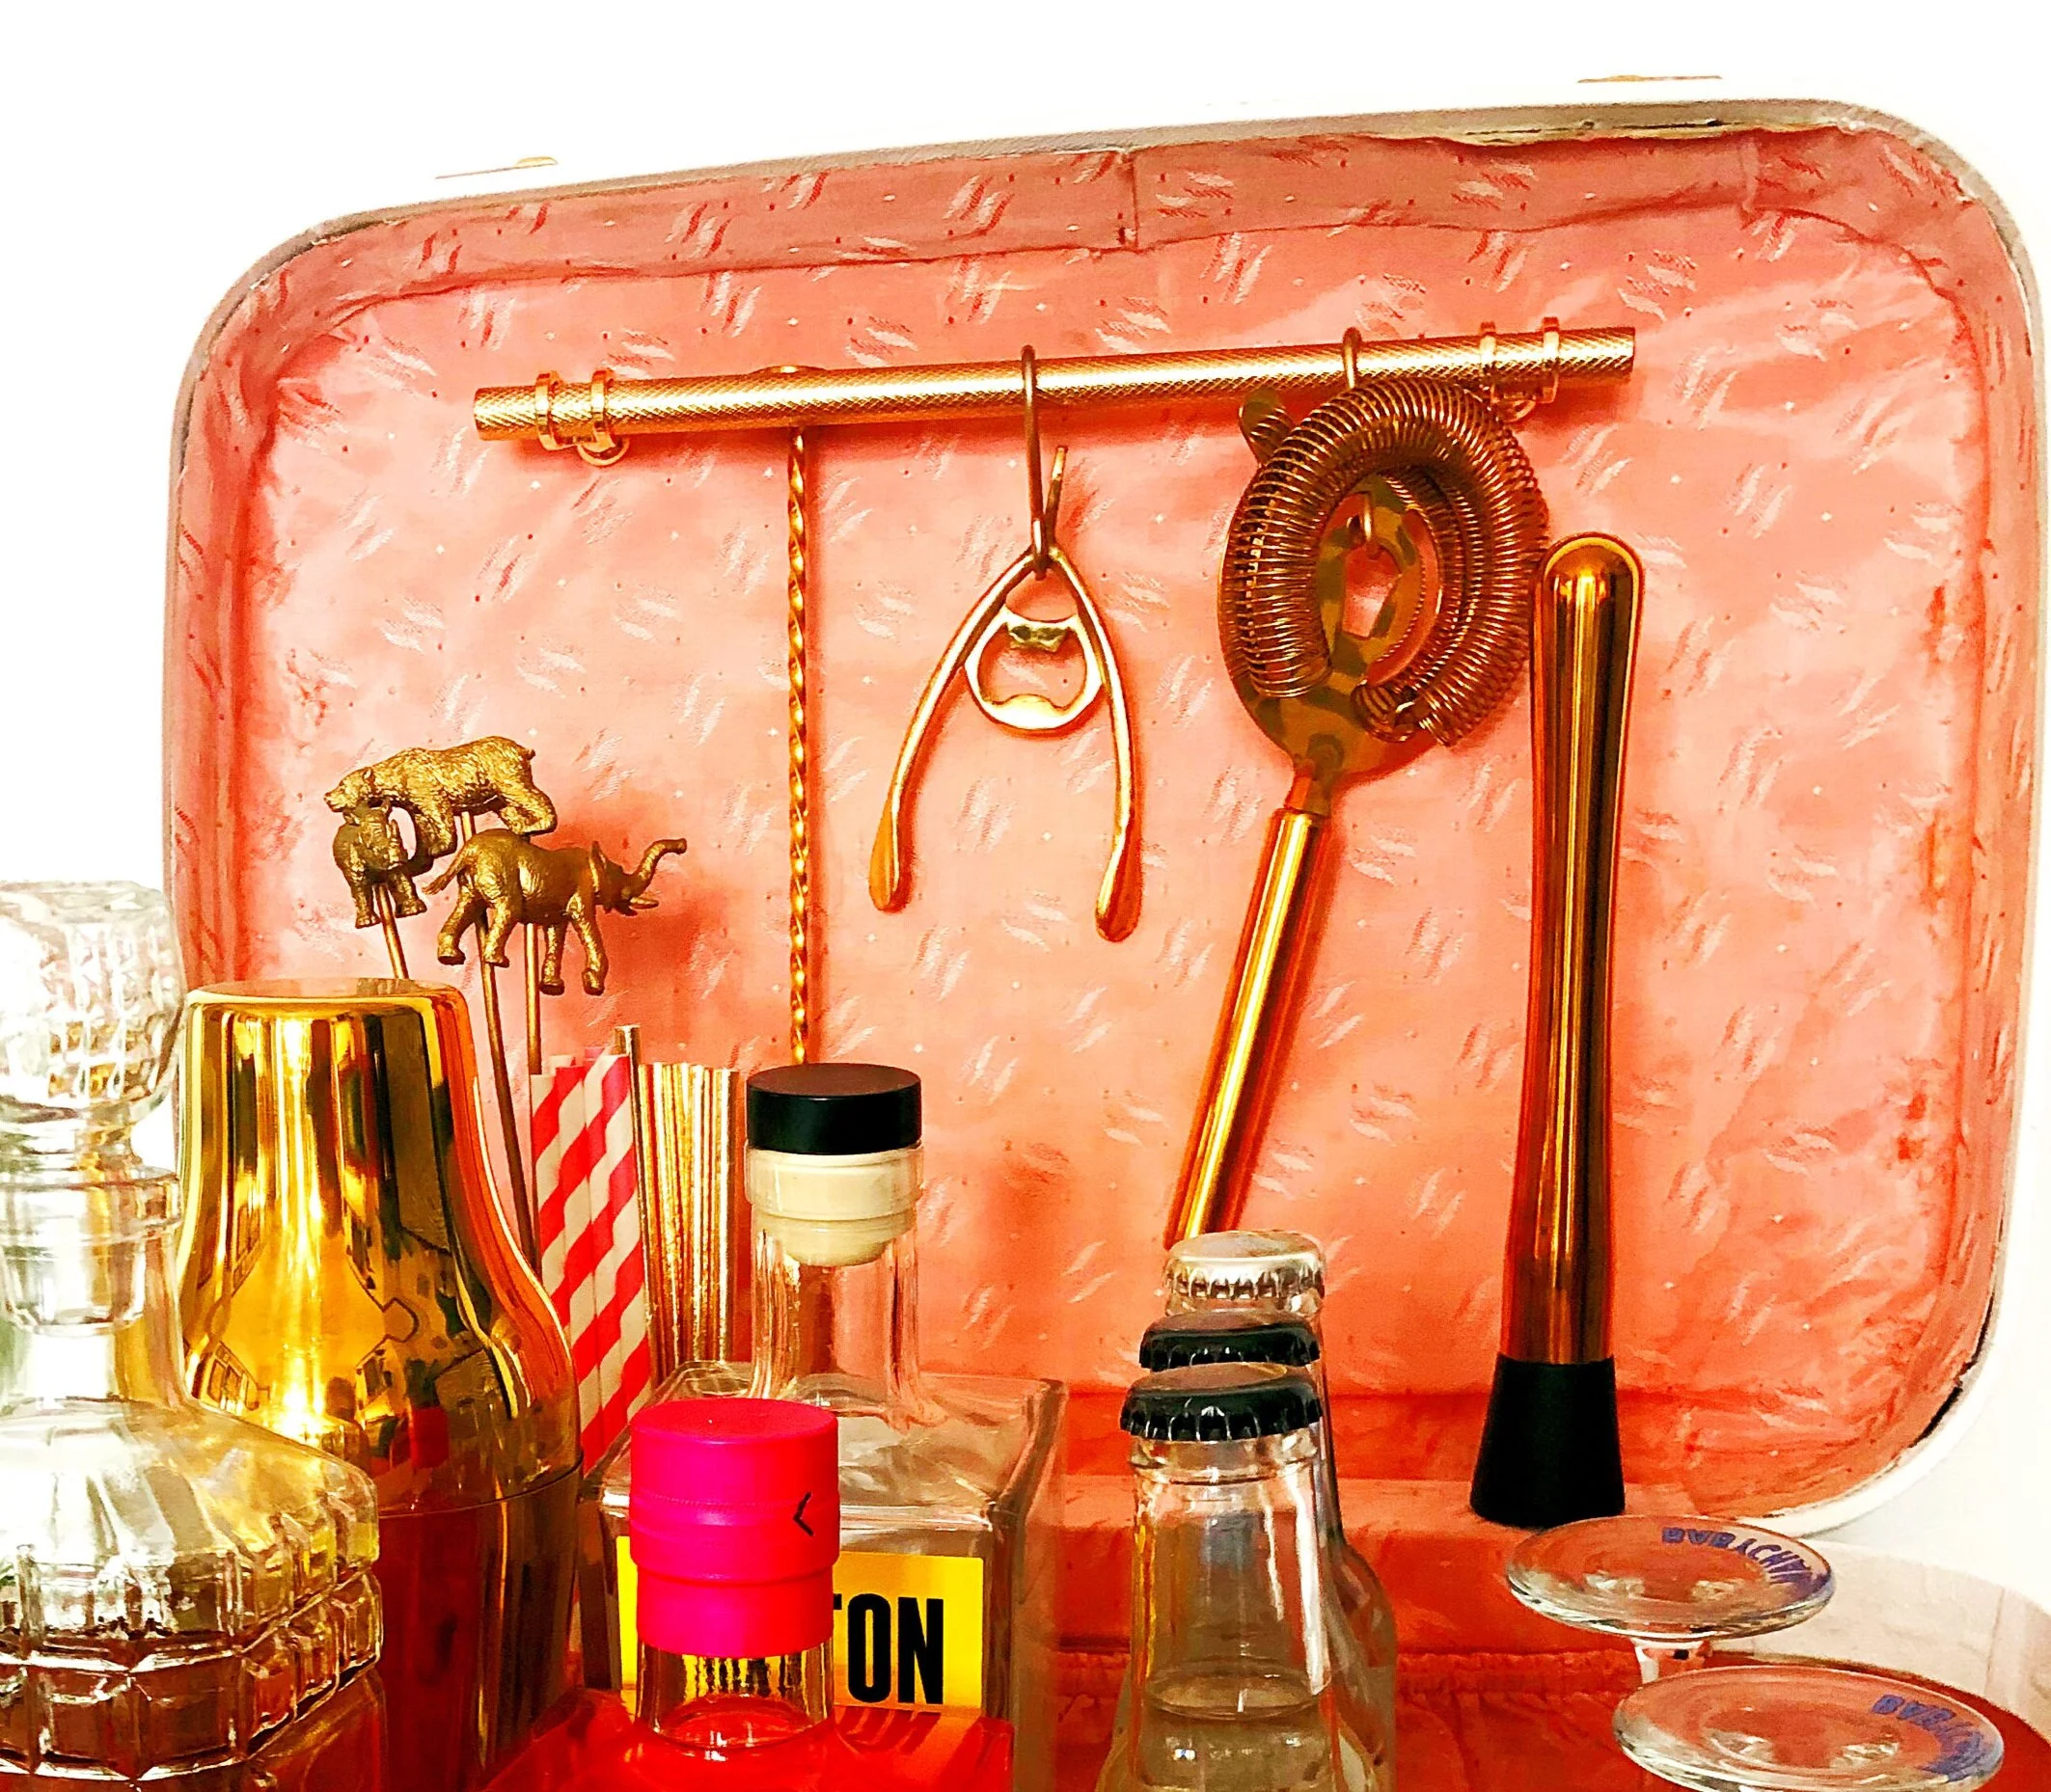
Shamefully it took me until I was about to take it to the local charity shop to actually open it up, to my suprise the inside was in pretty sweet condition and lined with a gorgeous baby pink silk fabric, it was then that I knew I had to show this beauty off and give it the glow up deserves!
As impressive as this DIY suitcase bar looks it was actually dead easy to do. In this tutorial I’ll talk you through step by step how you too can Upcycle a shabby old suitcase into a chic cocktail bar.
Choosing your case
Id advise using a small carry on suitcase for this upcycle. Any suitcase can work as long as its not too big, if you’re going to have your case open most of the time, it’ll take up a fair bit of room if its a large suitcase.
If you want your bar to particularly impressive, use a vintage suitcase, these can easily be found in charity shops or on eBay from about £5.
Pick a case that has little damage on the outside, the inside can always be re lined with fabric if needs be.
Painting your case
Decide on your colour for the outside of the case, if you’re going brighter than it already is, I’d suggest using a white primer so the paint adheres better and makes your colour of choice really pop. You can pick up a primer from most hardware stores, I used Wilkos white matte all purpose primer for this project.
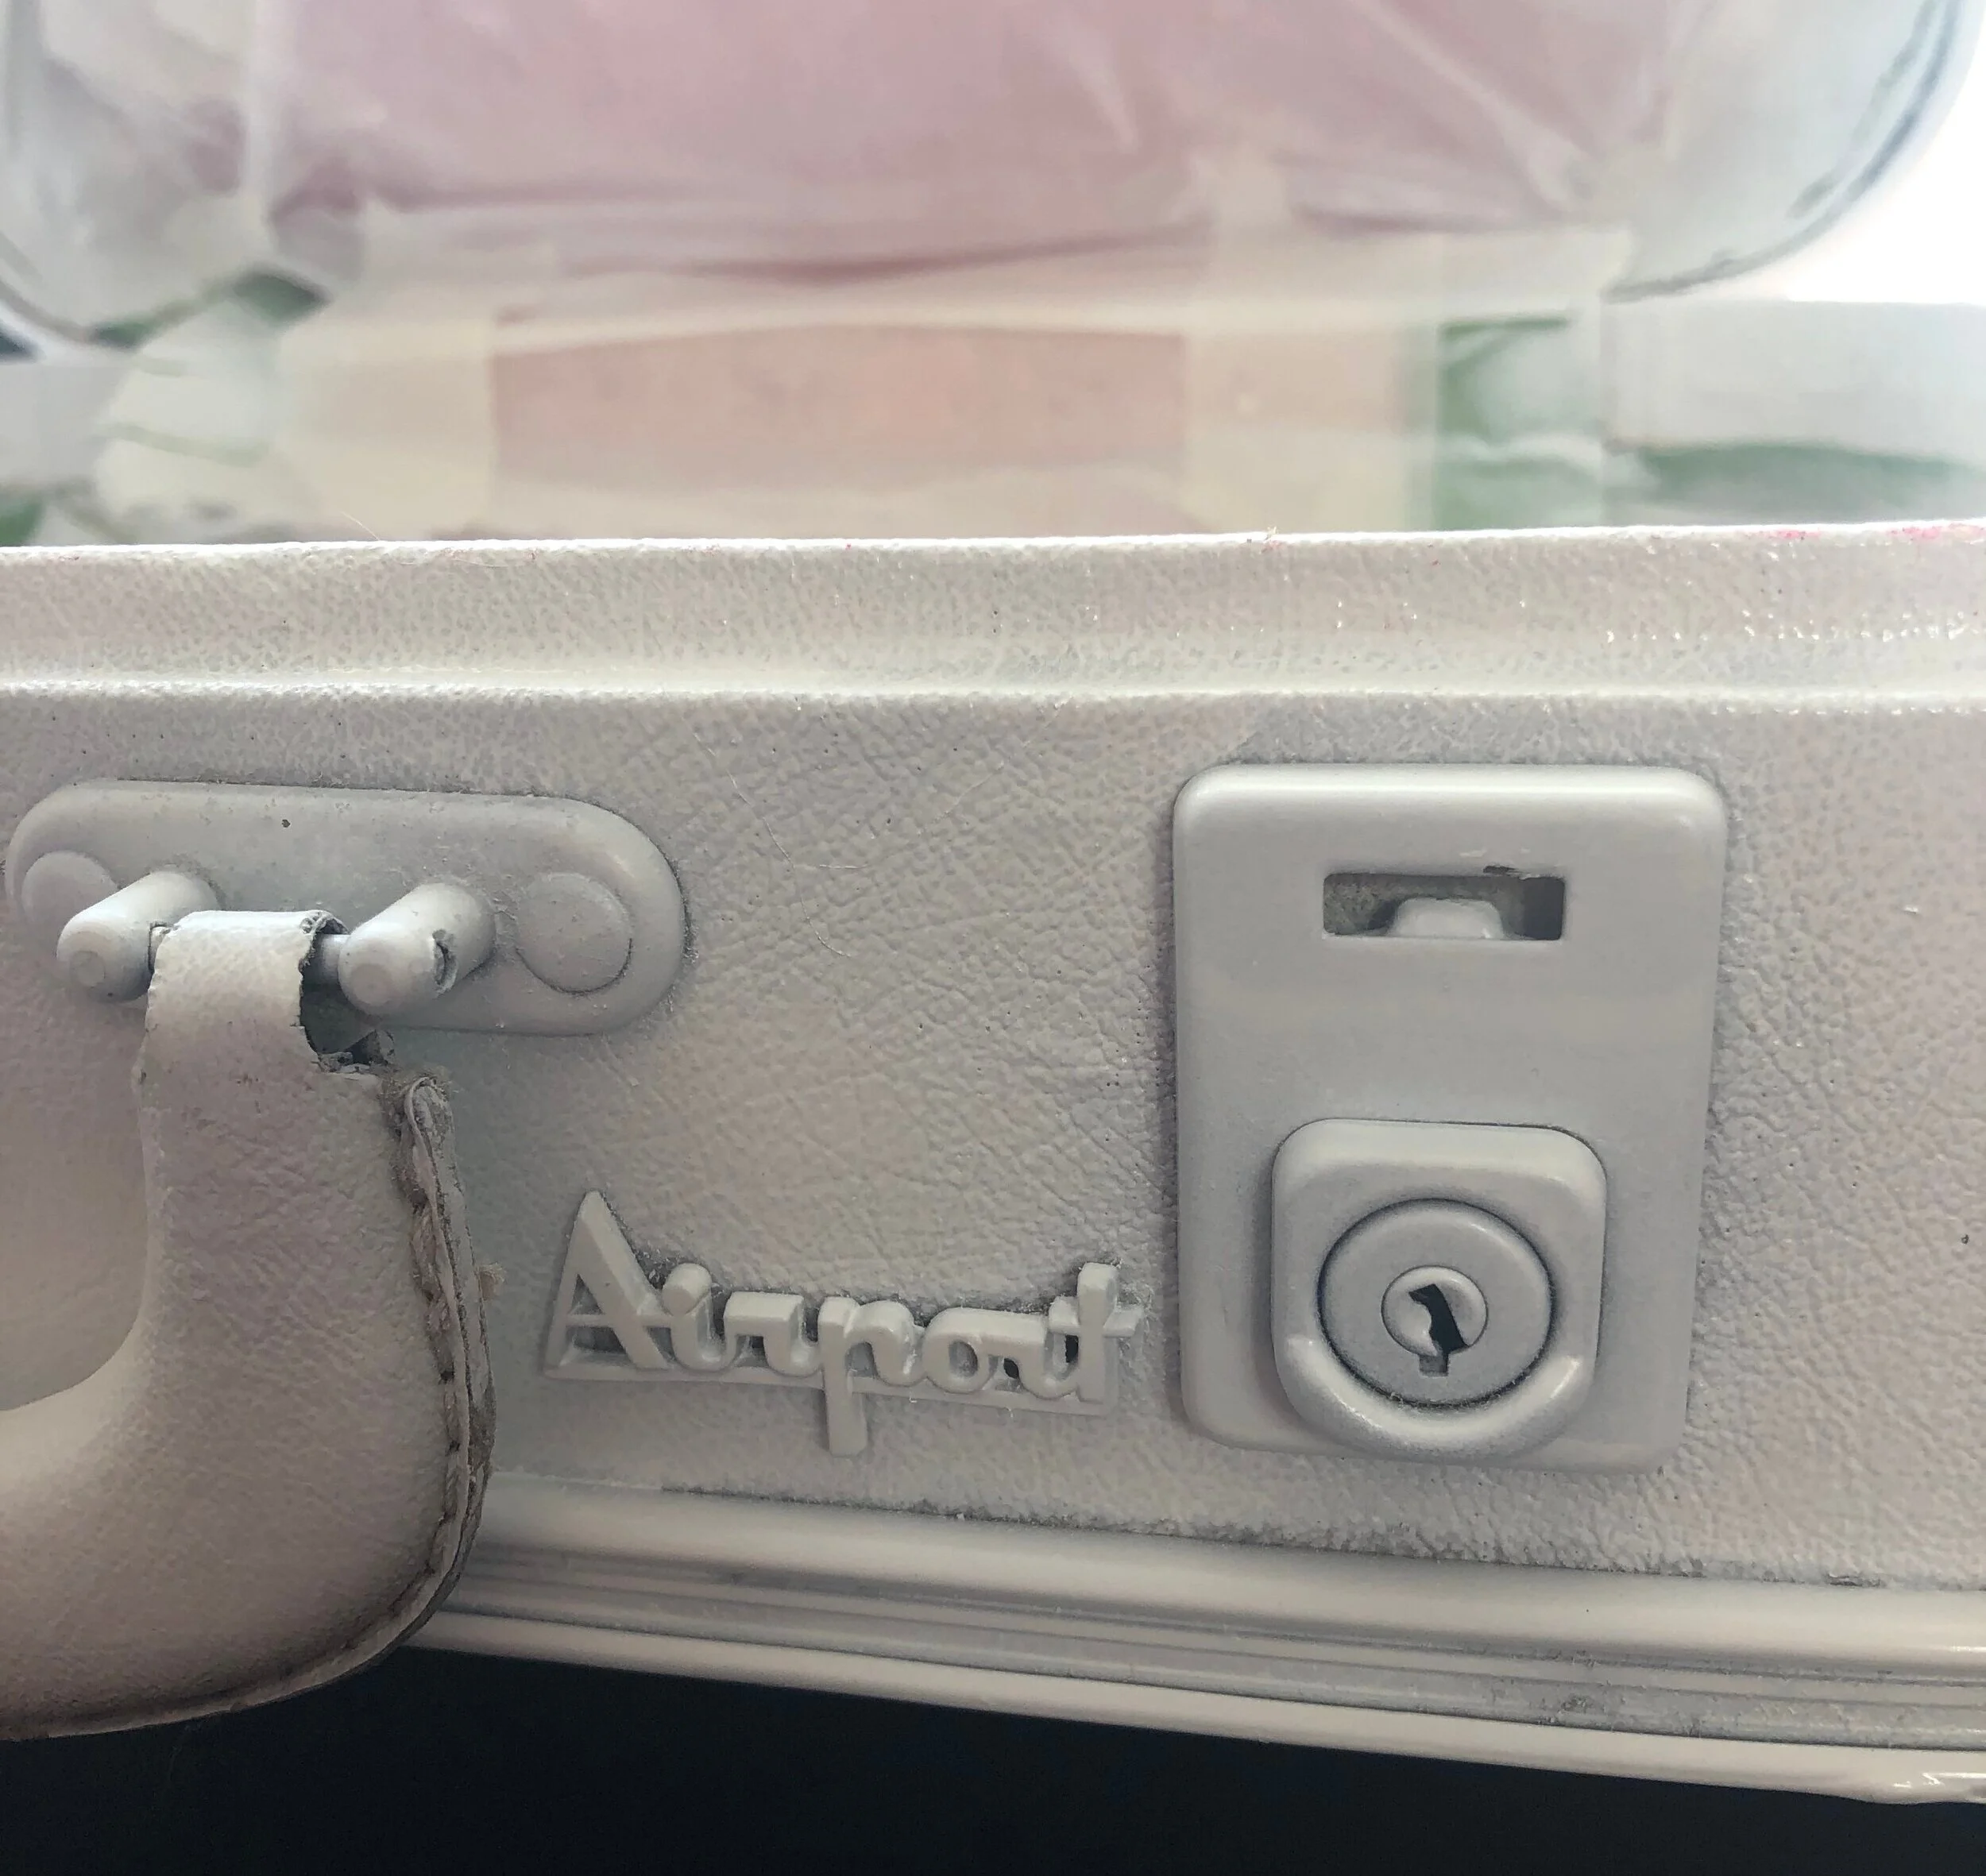
Removing the hardware is a little tricky so if you want to keep the fixing as they are, as they might still be in good condition, use tasking tape to cover any bits you don’t want spraying in your primer, you can then peel off the masking tape after you’ve finished painting the case.
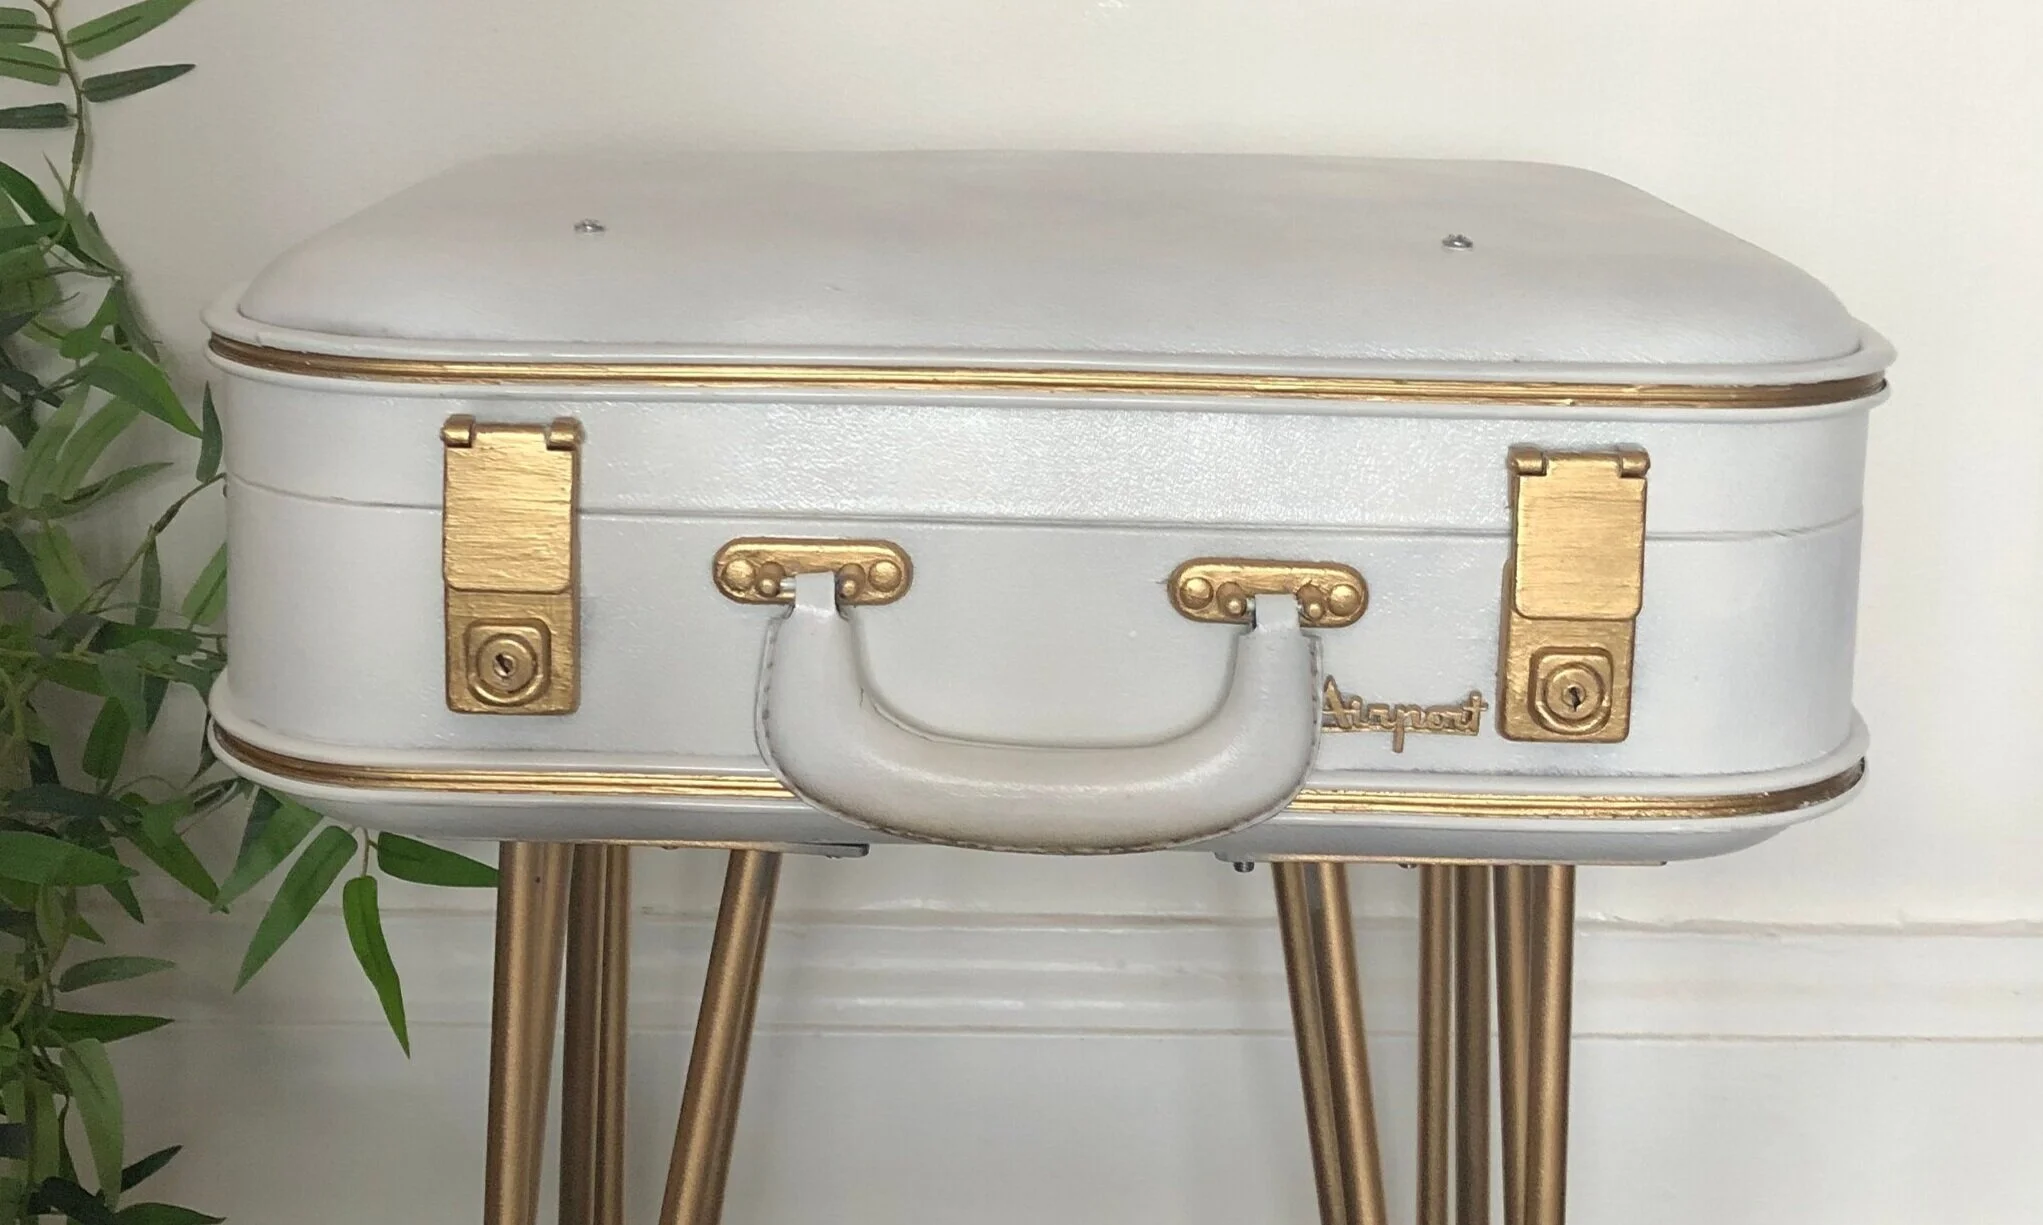
Alternatively, if your fixings are looking pretty worn you can skip the masking part and spray with the primer, then use a fine paint brush to neatly paint the small bit of hardware in a metallic finish once you’ve completed painting the case in your colour of choice. I used a gold furniture paint to go over my locks and hardware.
As I wanted to spray my case white, I used a Rustoleum White matte painter touch spray paint to get an even finish on the outside of the case, but you can use tinned paint if you prefer. Once I had finished waiting the body of the case and hardware, I went over it all with Ronseal interior varnish to seal everything in.
Adding an accessories bar
If you want to add an additional bar for hanging your cocktail accessories then you’ll need to carefully remove the lining on the inside of the suitcase lid. On the outside of the suitcase mark out where you’ll be drilling the holes to attach the bar.
Once you’ve done that, use a drill bit that’s the same width as the bars screws, and drill two holes where you previously marked and make sure they are level. To do this either use a spirit level or measure with a ruler. Once you have drilled the holes, using a glue gun or strong double sided tape, fix the lining back onto the suit case.
Insert your screws and when you can feel them through the under neath of the lining, use a craft knife to puncture a small hole in the fabric and pull the 2 screws through, attach your bar, tighten with a screw driver so your bar is firmly fixed into the case.
The screw heads from where the accessories bar is attached will be visible when the case is shut, however these can be easily disguised by painting over them in the same colour as your cases exterior.
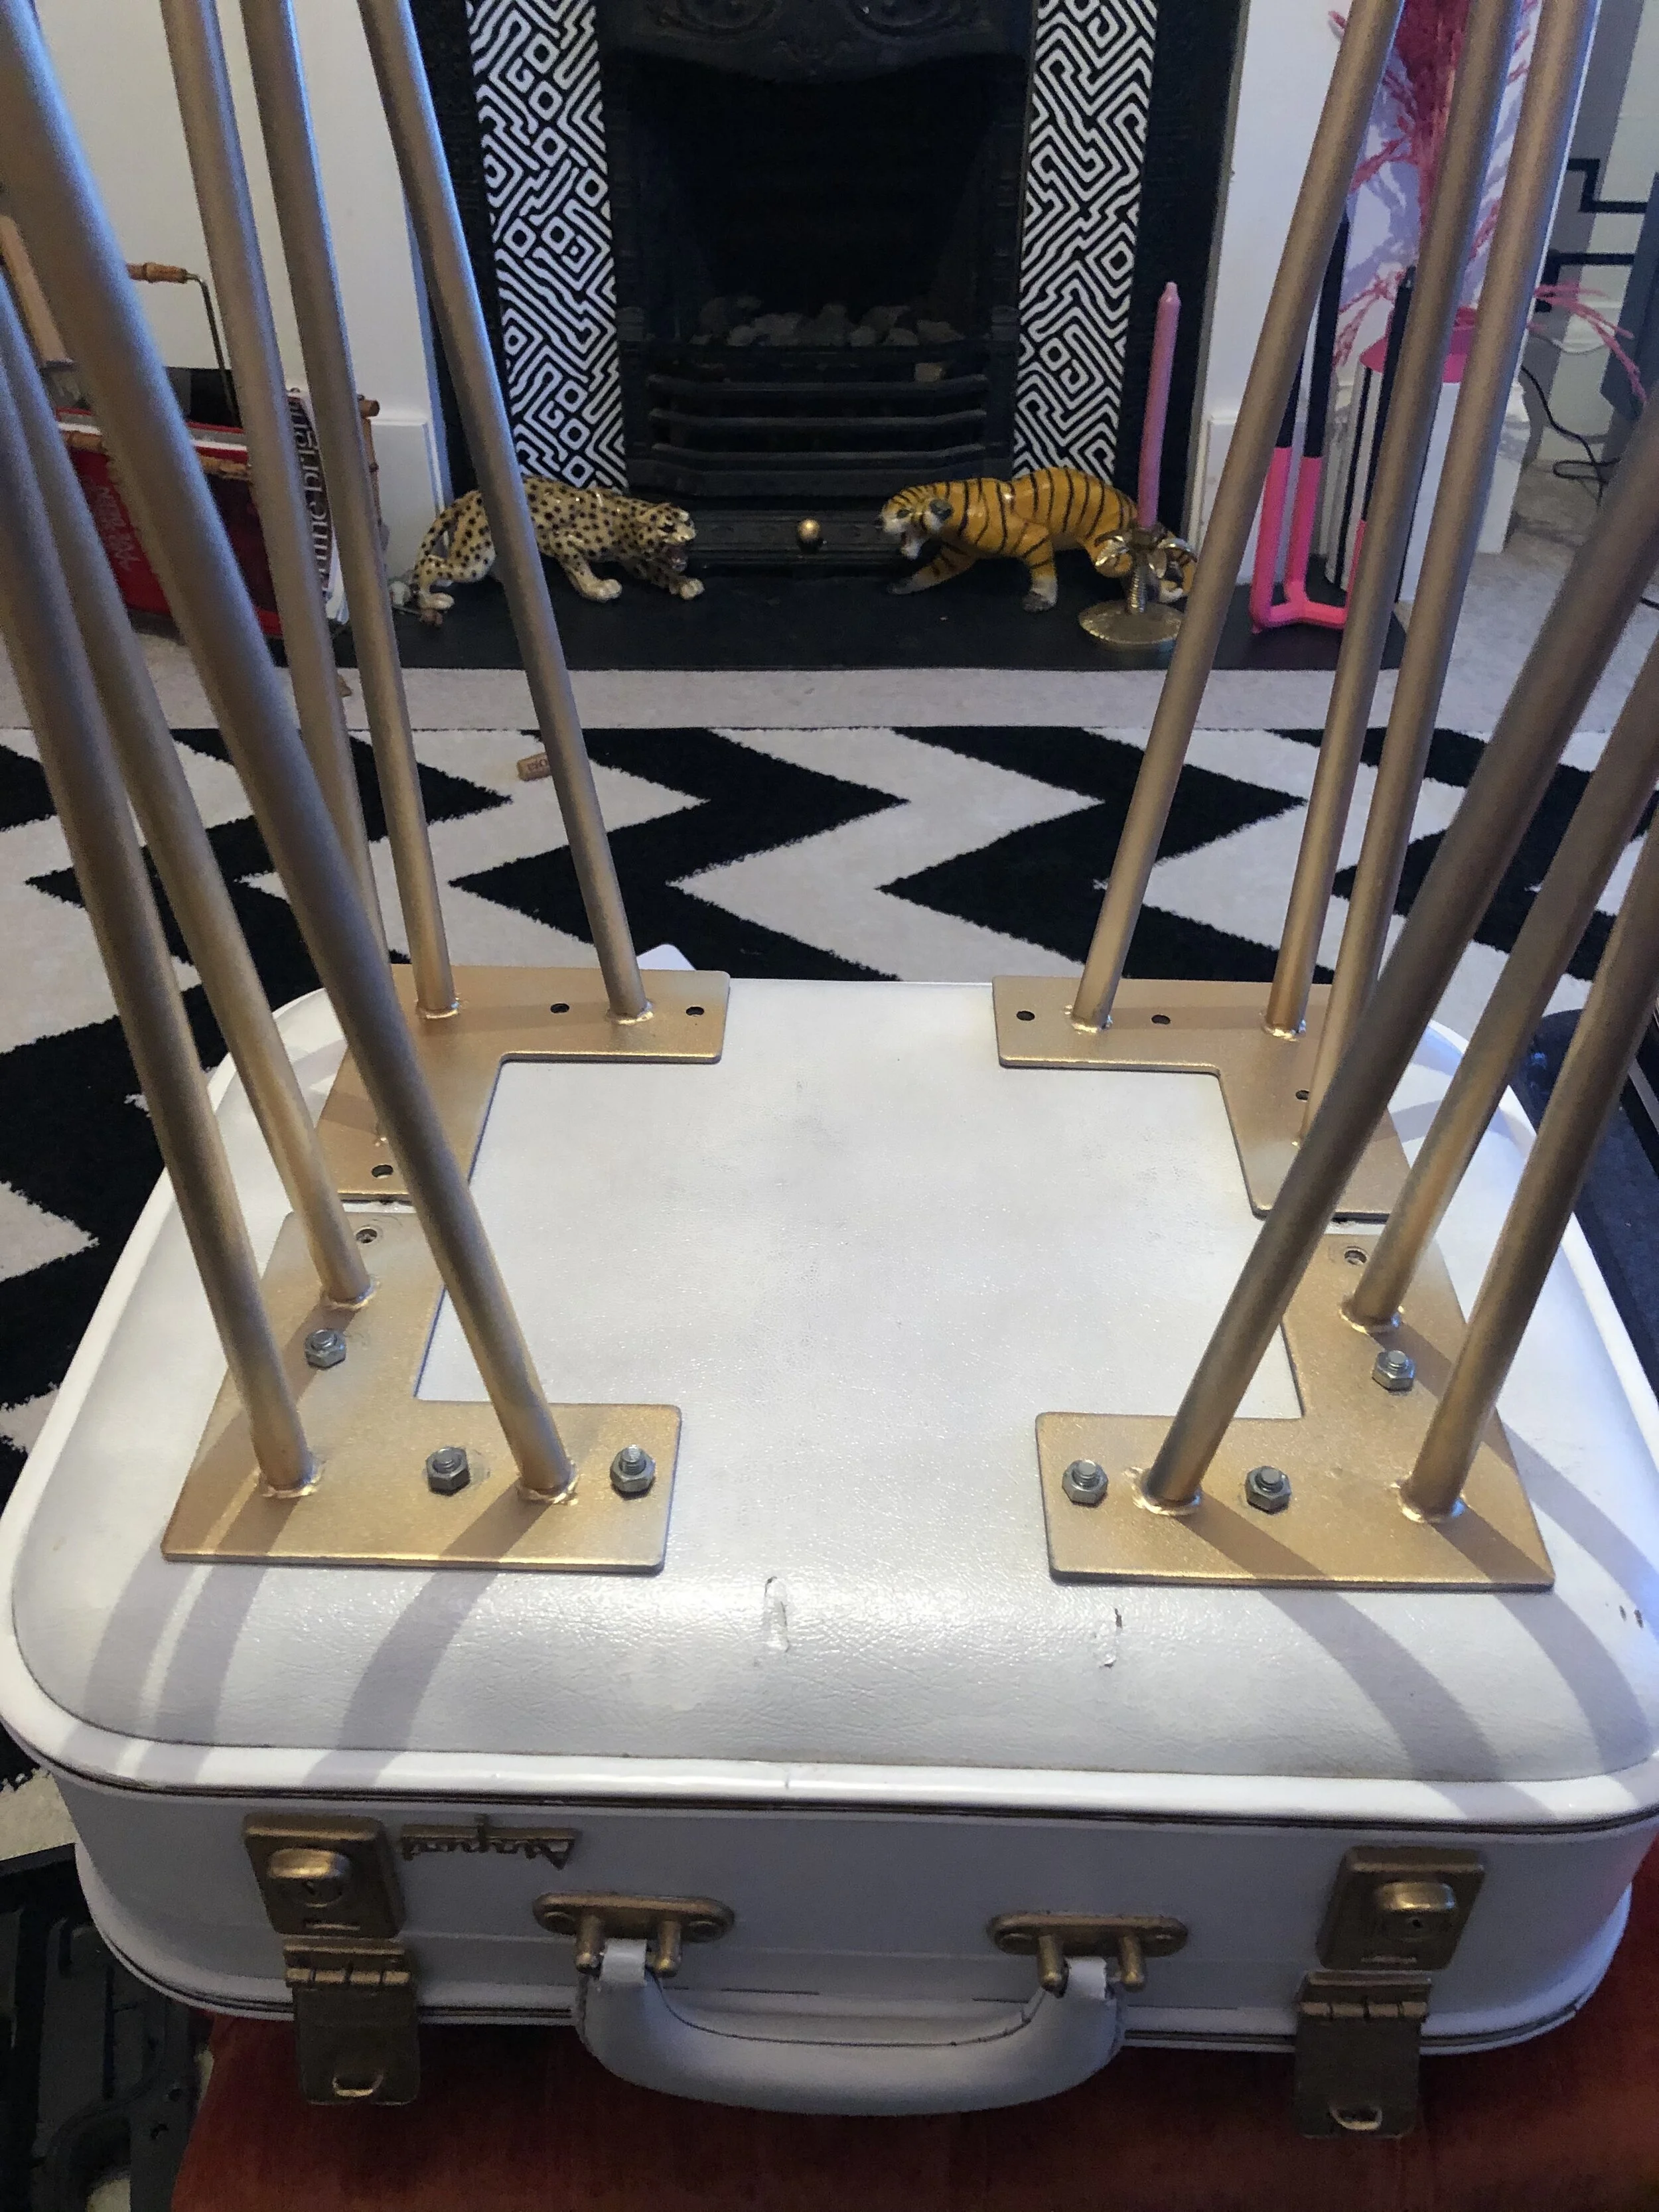
ATTACHING HAIRPIN LEGS
To attach the hair pin legs, you’ll be using a similar method as just mentioned. Carefully remove the lining on the bottom of the case, either by unpicking or slicing with a craft knife.
Then, close your case and place on the ground, with the bottom of the case facing up, place your hairpin legs on top of the case where you want them to be fixed and mark out with a sharpie where you will be drilling the holes your screws will go.
Using a drill bit that’s the right size, drill your holes, once all your holes are drilled, hoover the case out to remove any excess bits of case as a result of the drilling.
To attach the legs to the case, I used screws and bolts. Try and use a short screw, that’s big enough to hold everything in place, but small enough to not poke out too much inside the case.
Once all screws are bolted and tightened, turn your case over and re attach your lining by either glue gunning or double sided tape, but only do this once you’re happy with the tightness and positioning of the legs.
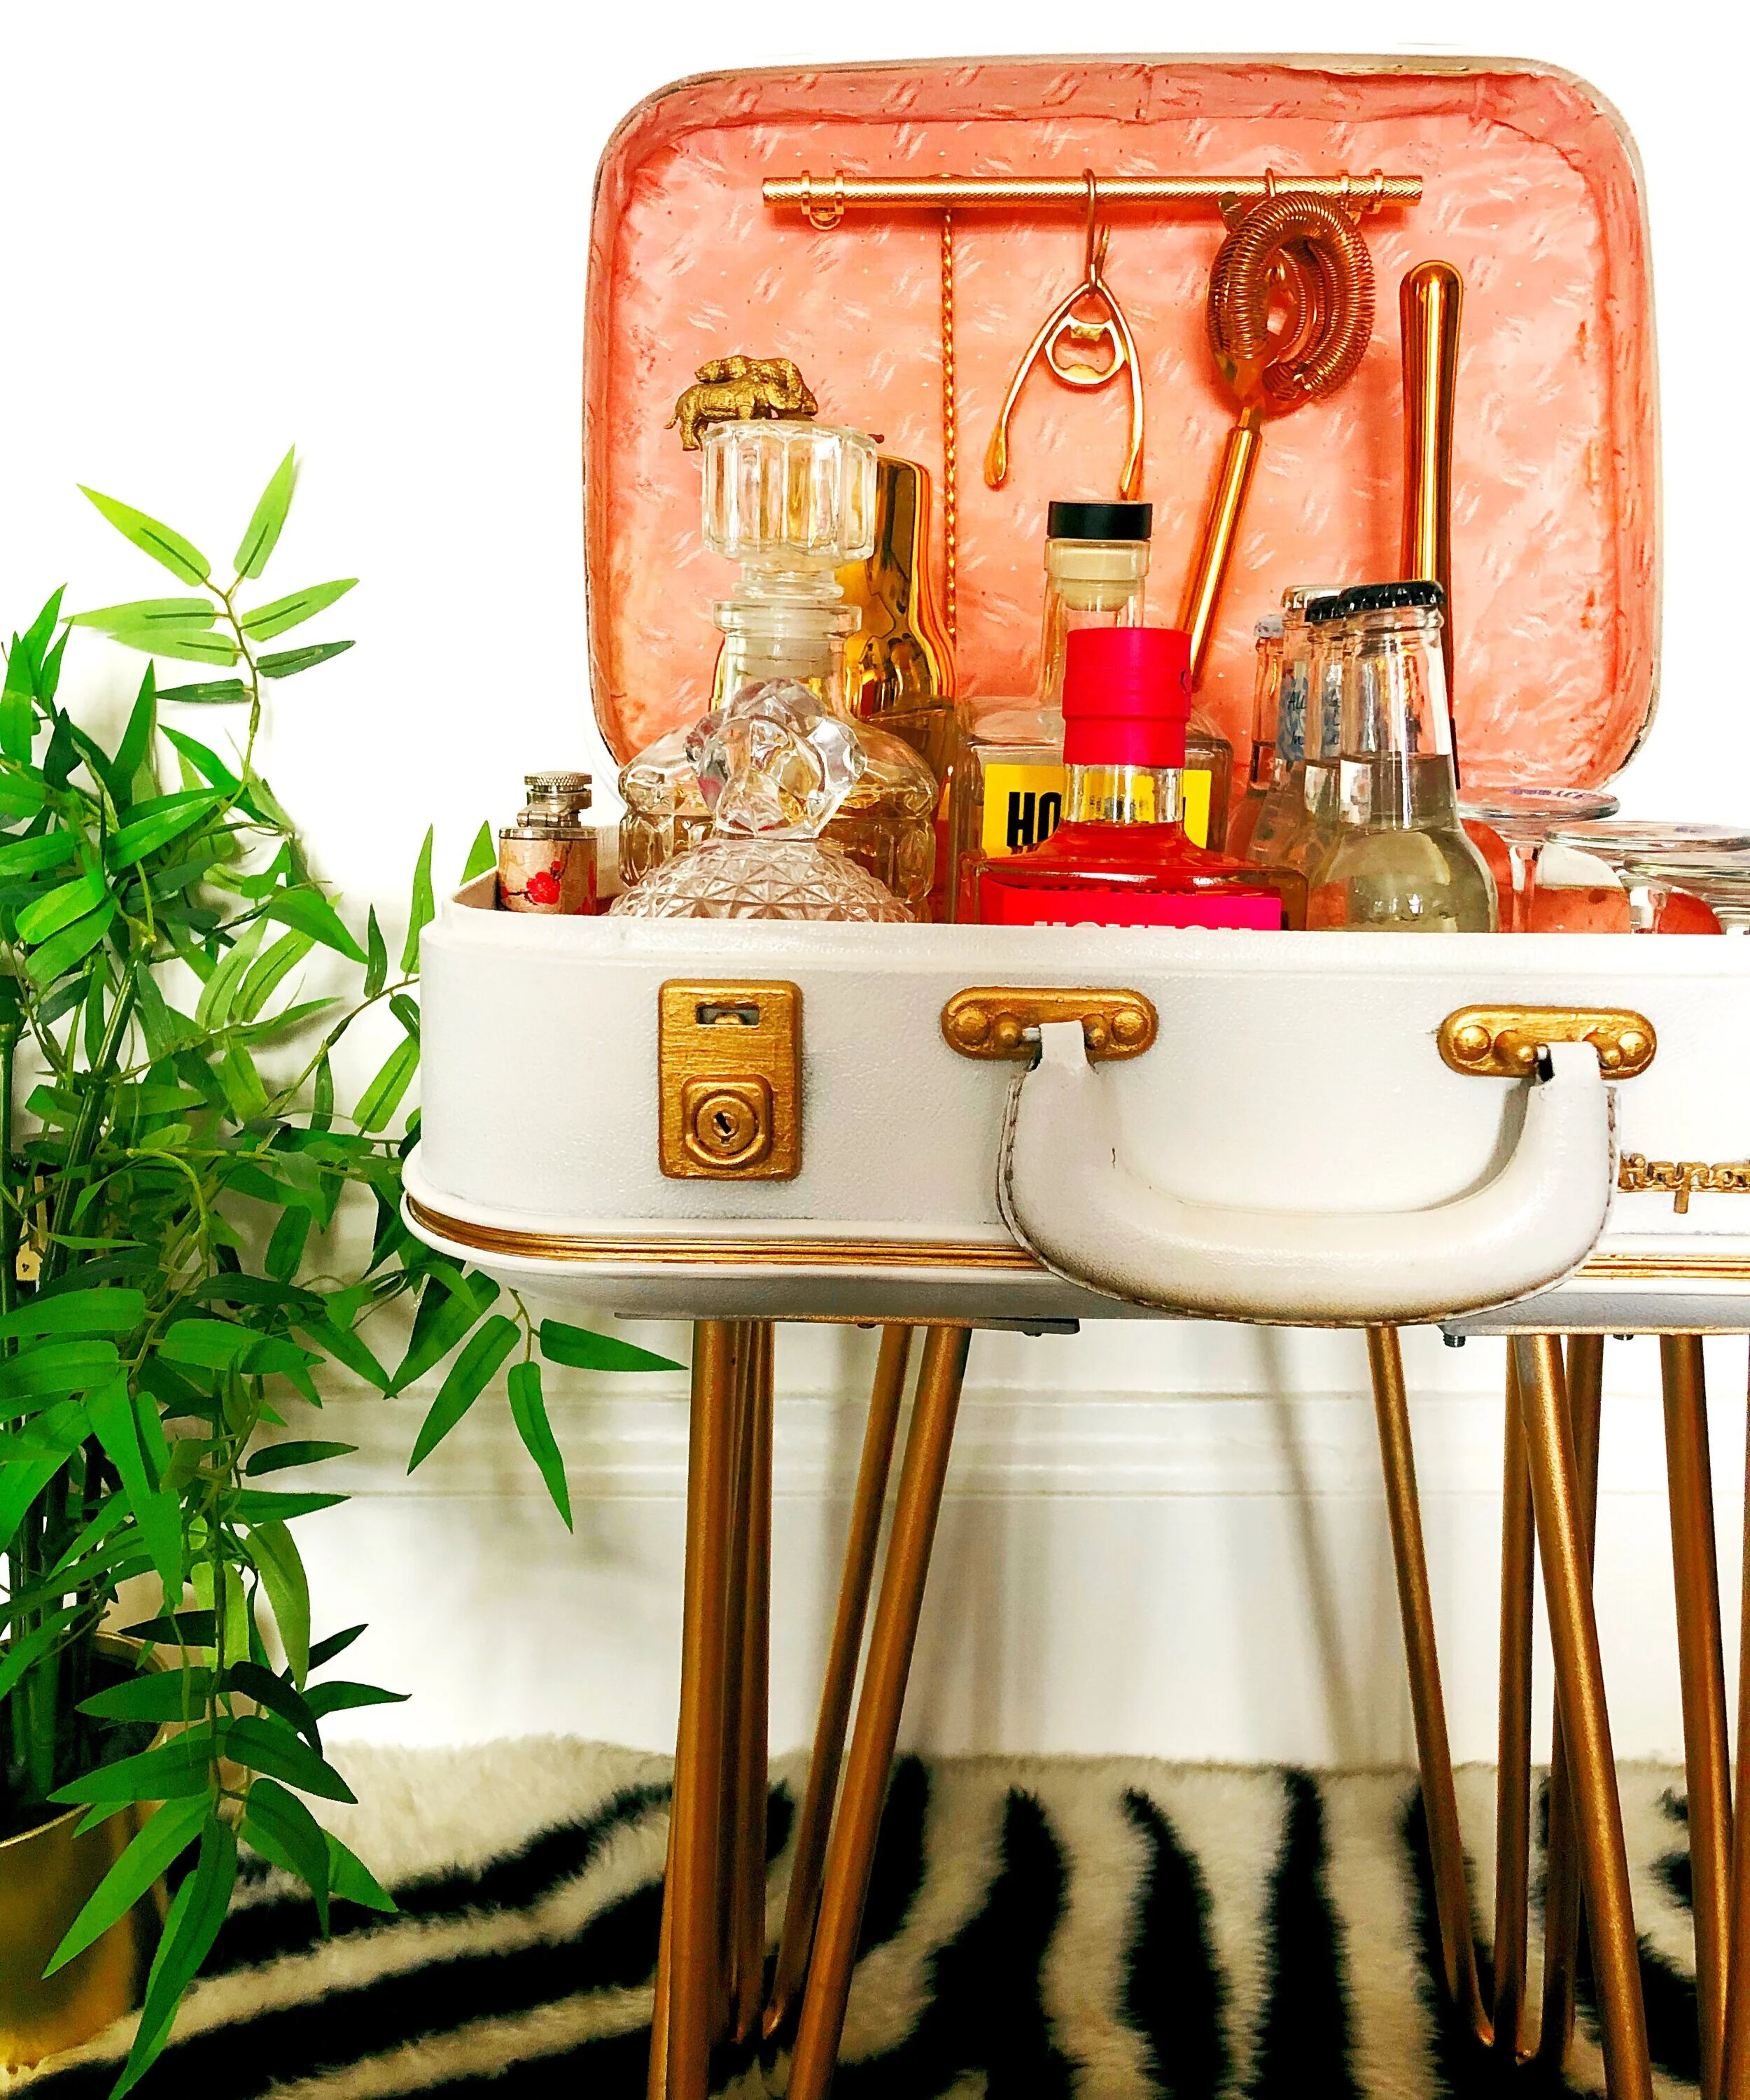
You’re almost finished!
All that’s left to do now is to fill it with your favourite drinks, glass ware and cocktail making accessories. Alternatively you also turn your case into a snack bar, fill it with lots of sweet treats and open it up to friends and family when they come over for a movie night. Or why not use it as a vanity case to store all your beauty products in, you could even install a mirror and battery powered lights.